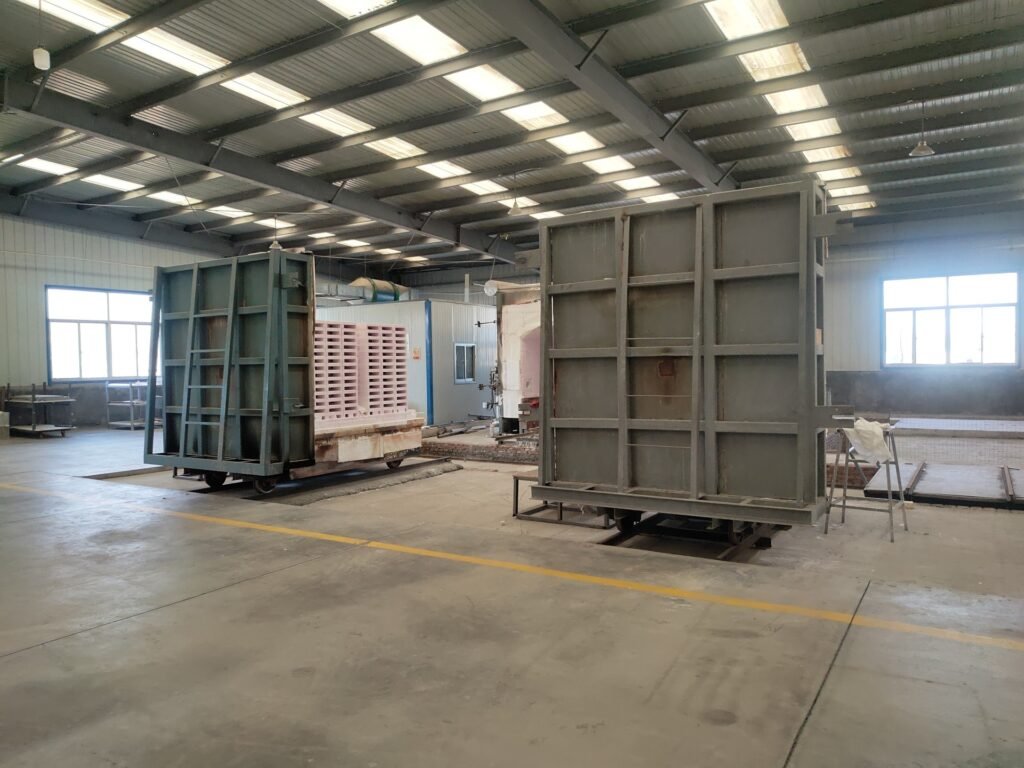
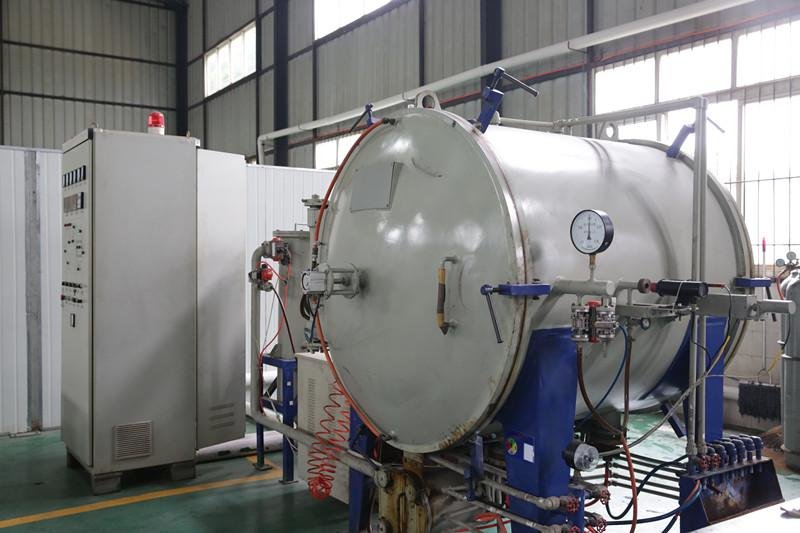
In the 1600°C Sintering Furnace, What Determines Batch Stability of Alumina Ceramics?
It's not only raw material purity—it's the precise replication of heating ramps, hold times, and cooling rates. A density fluctuation of just 0.1 g/cm³ in alumina ceramic shifts the dielectric strength of high-voltage insulator rings by 3–5 kV/mm. Uncontrolled grain growth can slash the service life of wear-resistant bushings by over 40%. These micro-level variables ultimately manifest on the assembly line as dimensional deviations, performance drift, and premature component failure.
Closing the Loop: Process Redlines from Powder to Part
Every value in the 95%–99.5% alumina specification table below is traceable to three live-control points: isostatic pressing pressure logs, sintering furnace thermal profiles, and CNC in-process measurement compensation.
| Property | Typical specification window | Application note |
|---|---|---|
| Purity (Al₂O₃) | 95% — 99.5% | Higher purity preferred for high-voltage insulation and high-wear, low-porosity parts. |
| Density / Apparent | ~3.6 — 3.9 g/cm³ | Dense sintering reduces porosity and improves dielectric strength. |
| Dielectric strength | ~10 — 32 kV/mm (grade-dependent) | Dense, high-purity alumina shows high breakdown voltage suitable for insulating rings. |
| Thermal conductivity | ~22 — 35 W/m·K | Important where heat dissipation or thermal matching is required. |
| Coefficient of thermal expansion (CTE) | ~7.2 — 8.4 ×10⁻⁶ /K | CTE must be considered when assembling with metals. |
| Flexural / bending strength | ~120 — 350 MPa | Geometry and porosity influence mechanical strength. |
| Typical finishing tolerance | ±0.02 — ±0.05 mm (process dependent) | Tighter tolerances require additional grinding/lapping. |
Manufacturing stability — what separates suppliers
For procurement teams, differentiators are not only nominal properties but demonstrated process control. Norke Ceramics emphasizes a closed-loop approach: powder formulation → controlled pressing (isostatic or dry pressing) → programmed sintering → precision CNC finishing → automated inspection. This reduces a lot of variance in density and microstructure, which in turn minimizes unexpected part rejection during assembly.
Norke’s production furnaces run controlled cycles in the ~1600–1700°C range for typical high-purity alumina parts; sintering profiles are tuned to balance densification and grain growth, yielding stable mechanical and dielectric performance. Real-time process logs and batch traceability support supplier audits and procurement quality plans.
Precision finishing and inspection capabilities (how we reduce rework)
Norke’s finishing line integrates diamond grinding, CNC turning, and automated metrology allowing closed-loop correction for OD, bore concentricity, flatness, and surface roughness. Typical industrial tolerances offered after process validation:
- Outer diameter tolerance: ±0.02 — ±0.05 mm
- Bore concentricity: ≤ 0.02 mm (for common sizes)
- Surface roughness: Ra 0.2 — 0.6 μm (precision lapped parts)
- Batch inspection: 100% visual + sampling for dimensional and dielectric tests
Norke uses inline measurement to identify drift early in a production lot, avoiding widespread scrap and ensuring consistent parts for OEM assembly lines. These capabilities make Norke a reliable partner for engineering procurement and industrial sourcing that require repeatable outcomes.


Performance benefits
A pump OEM replaced polymer bushings with Norke’s 99% alumina ceramic rings in slurry-handling models. Test runs under representative slurry flow and particle loading showed a wear-rate reduction of multiple times compared to the polymer baseline; in production the OEM observed reduced tolerance stack-up issues and lowered annual maintenance stops by a measurable percentage. Because the parts arrived within the specified dimensional window, the OEM eliminated time-consuming post-delivery machining previously required for parts from other vendors.
Specifying parts: practical procurement checklist
When preparing RFQ documents for custom alumina parts or precision alumina components, include the following items to speed engineering validation:
- CAD/STEP files and 2D drawings with GD&T; specify critical dimensions and datum references.
- Required Al₂O₃ purity and acceptance testing (density, dielectric, flexural).
- Surface finish and secondary processing (lapping, coating).
- Environmental conditions: operating temperature range, media chemistry, expected mechanical loads.
- Inspection plan and required certificates (material composition, RoHS, dimensional report).
Packaging, lead-times and production scale considerations
Norke supports sample runs (1–10 pcs) for engineering validation for standard geometries. Typical timelines (example):
- Sample / first article: 5–12 business days (after drawing confirmation)
- Production lead-time: 3–6 weeks, depending on volume and finishing
- Packaging: multi-layer foam inserts + corrugated boxes; palletised for export; tailored industrial packaging available
How to engage Norke for quotation and development
For the fastest turnaround, please provide part geometry, material grade, tolerances, surface finish targets, operating environment, and annual usage. Norke delivers a feasibility assessment, processing route, and sample plan with dimensional/dielectric verification.
